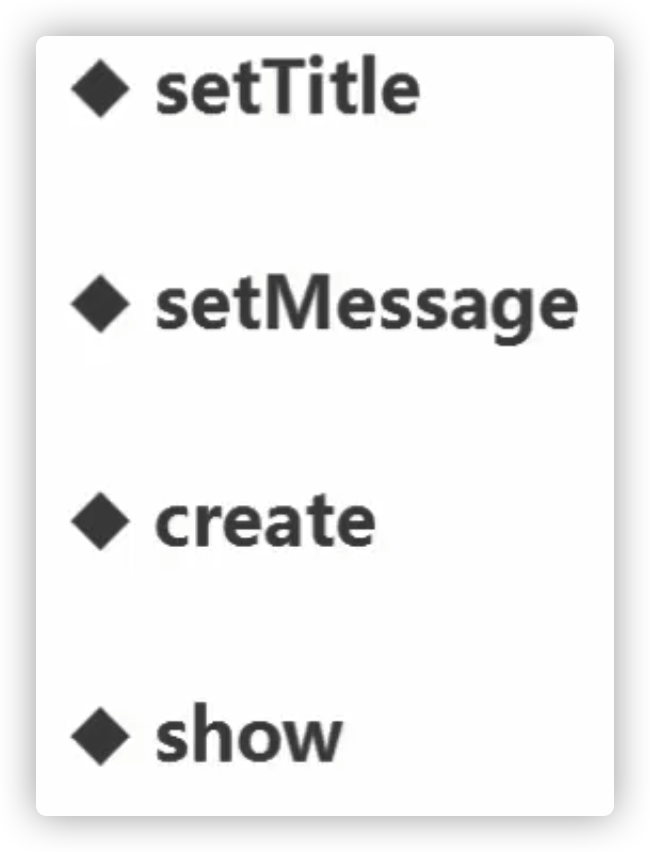
AlertDialog
要构建一个提示框需要使用Builder,别引错了包
其他API都很直观了,最后show就行
1 2 3 4 5 6 7 8 9 10 11 12 13 14 15 16 17 18 19 20 21 button.setOnClickListener(new View.OnClickListener() {@Override public void onClick (View v) new AlertDialog.Builder(MainActivity.this );"AKG" );"取消" ,null );"确认" , new DialogInterface.OnClickListener() {@Override public void onClick (DialogInterface dialog, int which)
第二种方法不太常用
就是直接先create一个alertDialog,然后再设置属性,注意设置按钮的时候不能传null给第三个参数,因为重载的方法都是引用类型。
1
2
3
4
5
6
7
8
AlertDialog alertDialog = new AlertDialog.Builder(this ).create();"确认" , new DialogInterface.OnClickListener() {@Override public void onClick (DialogInterface dialog, int which)
自定义对话框
1
2
3
4
5
6
7
public class MyDialog extends Dialog public MyDialog (@NonNull Context context) super (context);
布局和其他layout一样写,调用时直接new和show就完事
1
2
MyDialog myDialog = new MyDialog(this );
肯定有很多方法可以重写,这里只是一个思路而已
1
2
3
4
5
6
7
8
9
10
11
12
13
14
15
16
public MyDialog (@NonNull Context context, int themeResId) super (context, themeResId);new View.OnClickListener() {@Override public void onClick (View v) 0 );new View.OnClickListener() {@Override public void onClick (View v)
在style.xml中写一个style,传给上面那个构造函数的第二个参数即可
1 2 3 4 <style name ="Mydialog" parent ="Theme.AppCompat.Dialog" > <item name ="windowNoTitle" > true</item > <item name ="android:windowBackground" > @android:color/transparent</item > </style >
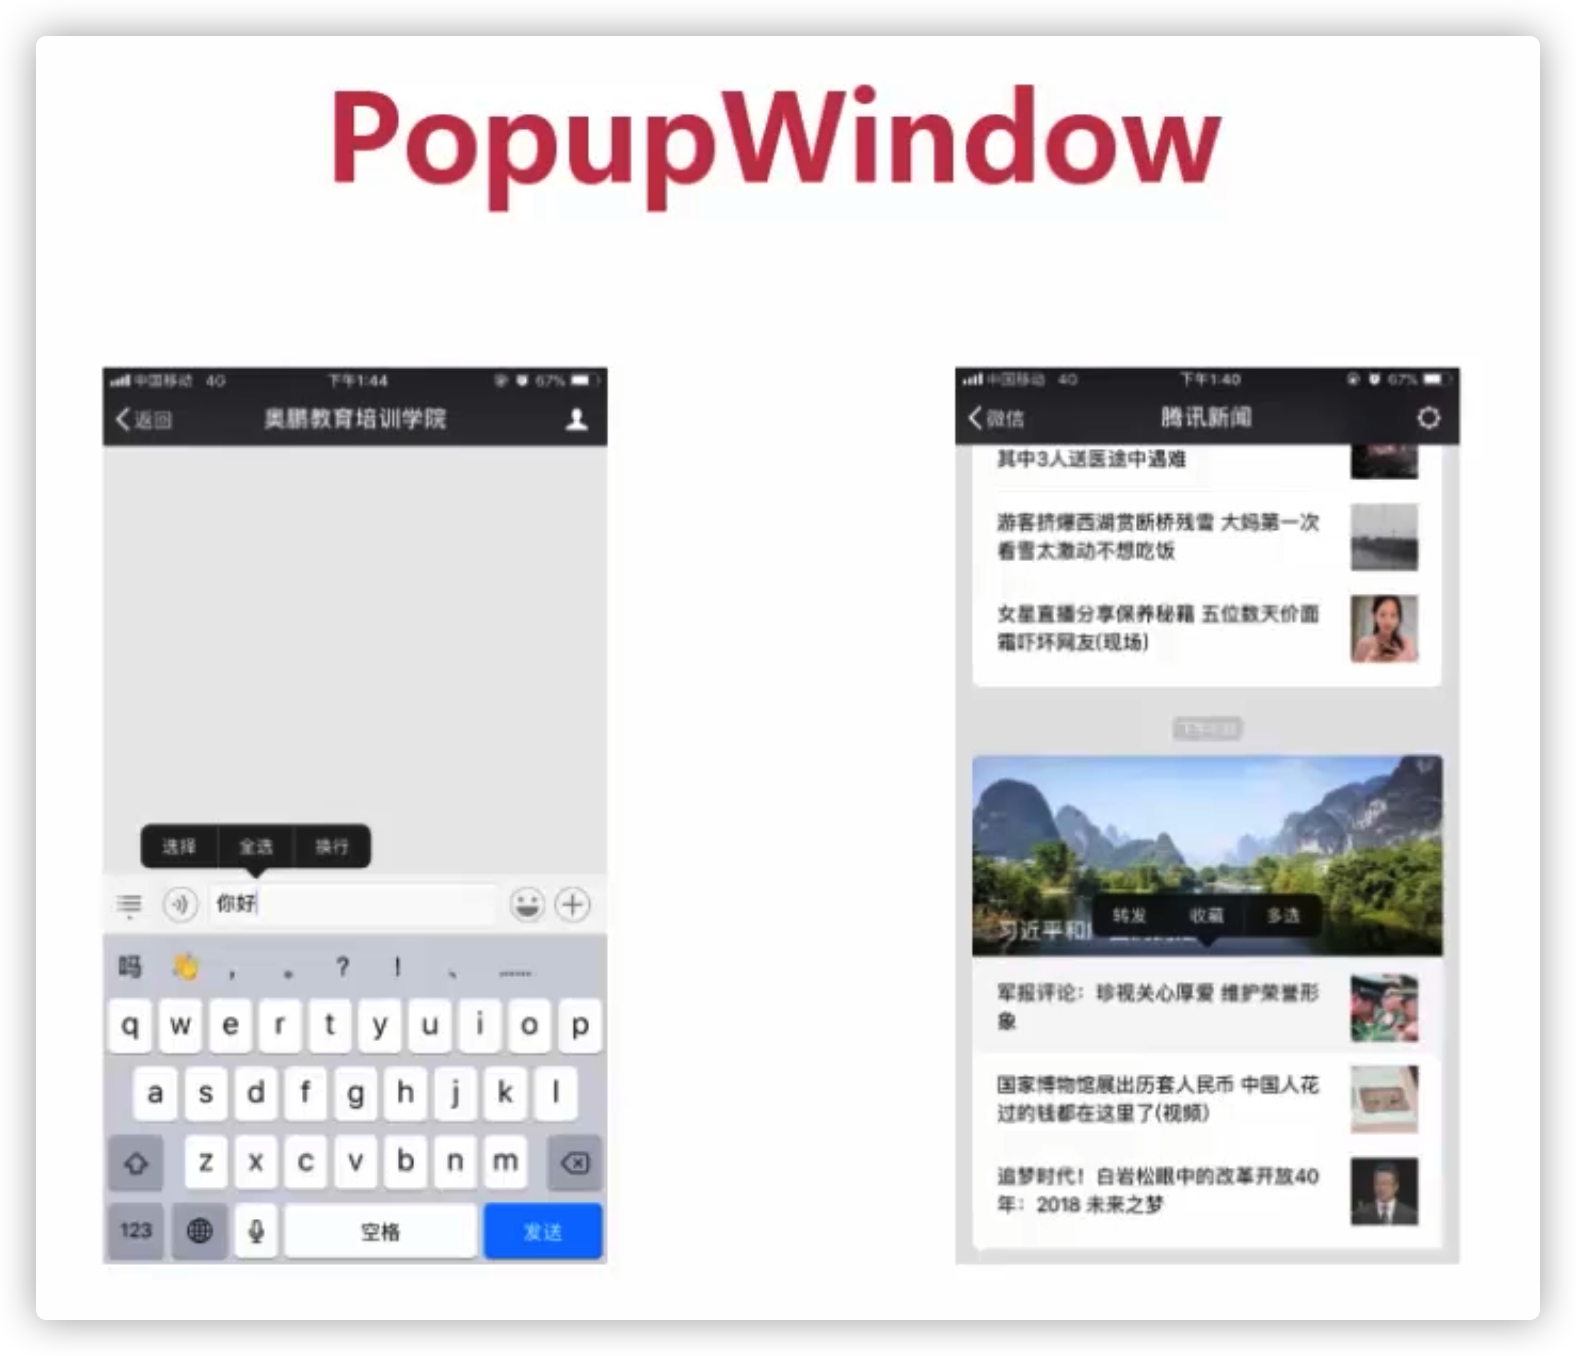
1
2
3
4
5
6
7
8
9
10
11
12
13
14
15
16
17
18
19
20
21
22
23
24
25
26
27
28
public void showPopupWindow (View view) this ).inflate(R.layout.dialog, null );new PopupWindow(v, 190 , 35 , true );new ColorDrawable(Color.TRANSPARENT));true );true );new View.OnClickListener() {@Override public void onClick (View v) this , "ALG" , Toast.LENGTH_LONG).show();
在res目录下新建目录anim目录,在这个目录里写动画文件
1 2 3 4 5 6 7 8 9 10 11 <set xmlns:android ="http://schemas.android.com/apk/res/android" > </translate > </set >
1 2 3 4 5 <style name ="anim" > <item name ="android:windowEnterAnimation" > @anim /translate </item > </style >
1 popupWindow.setAnimationStyle(R.style.anim);
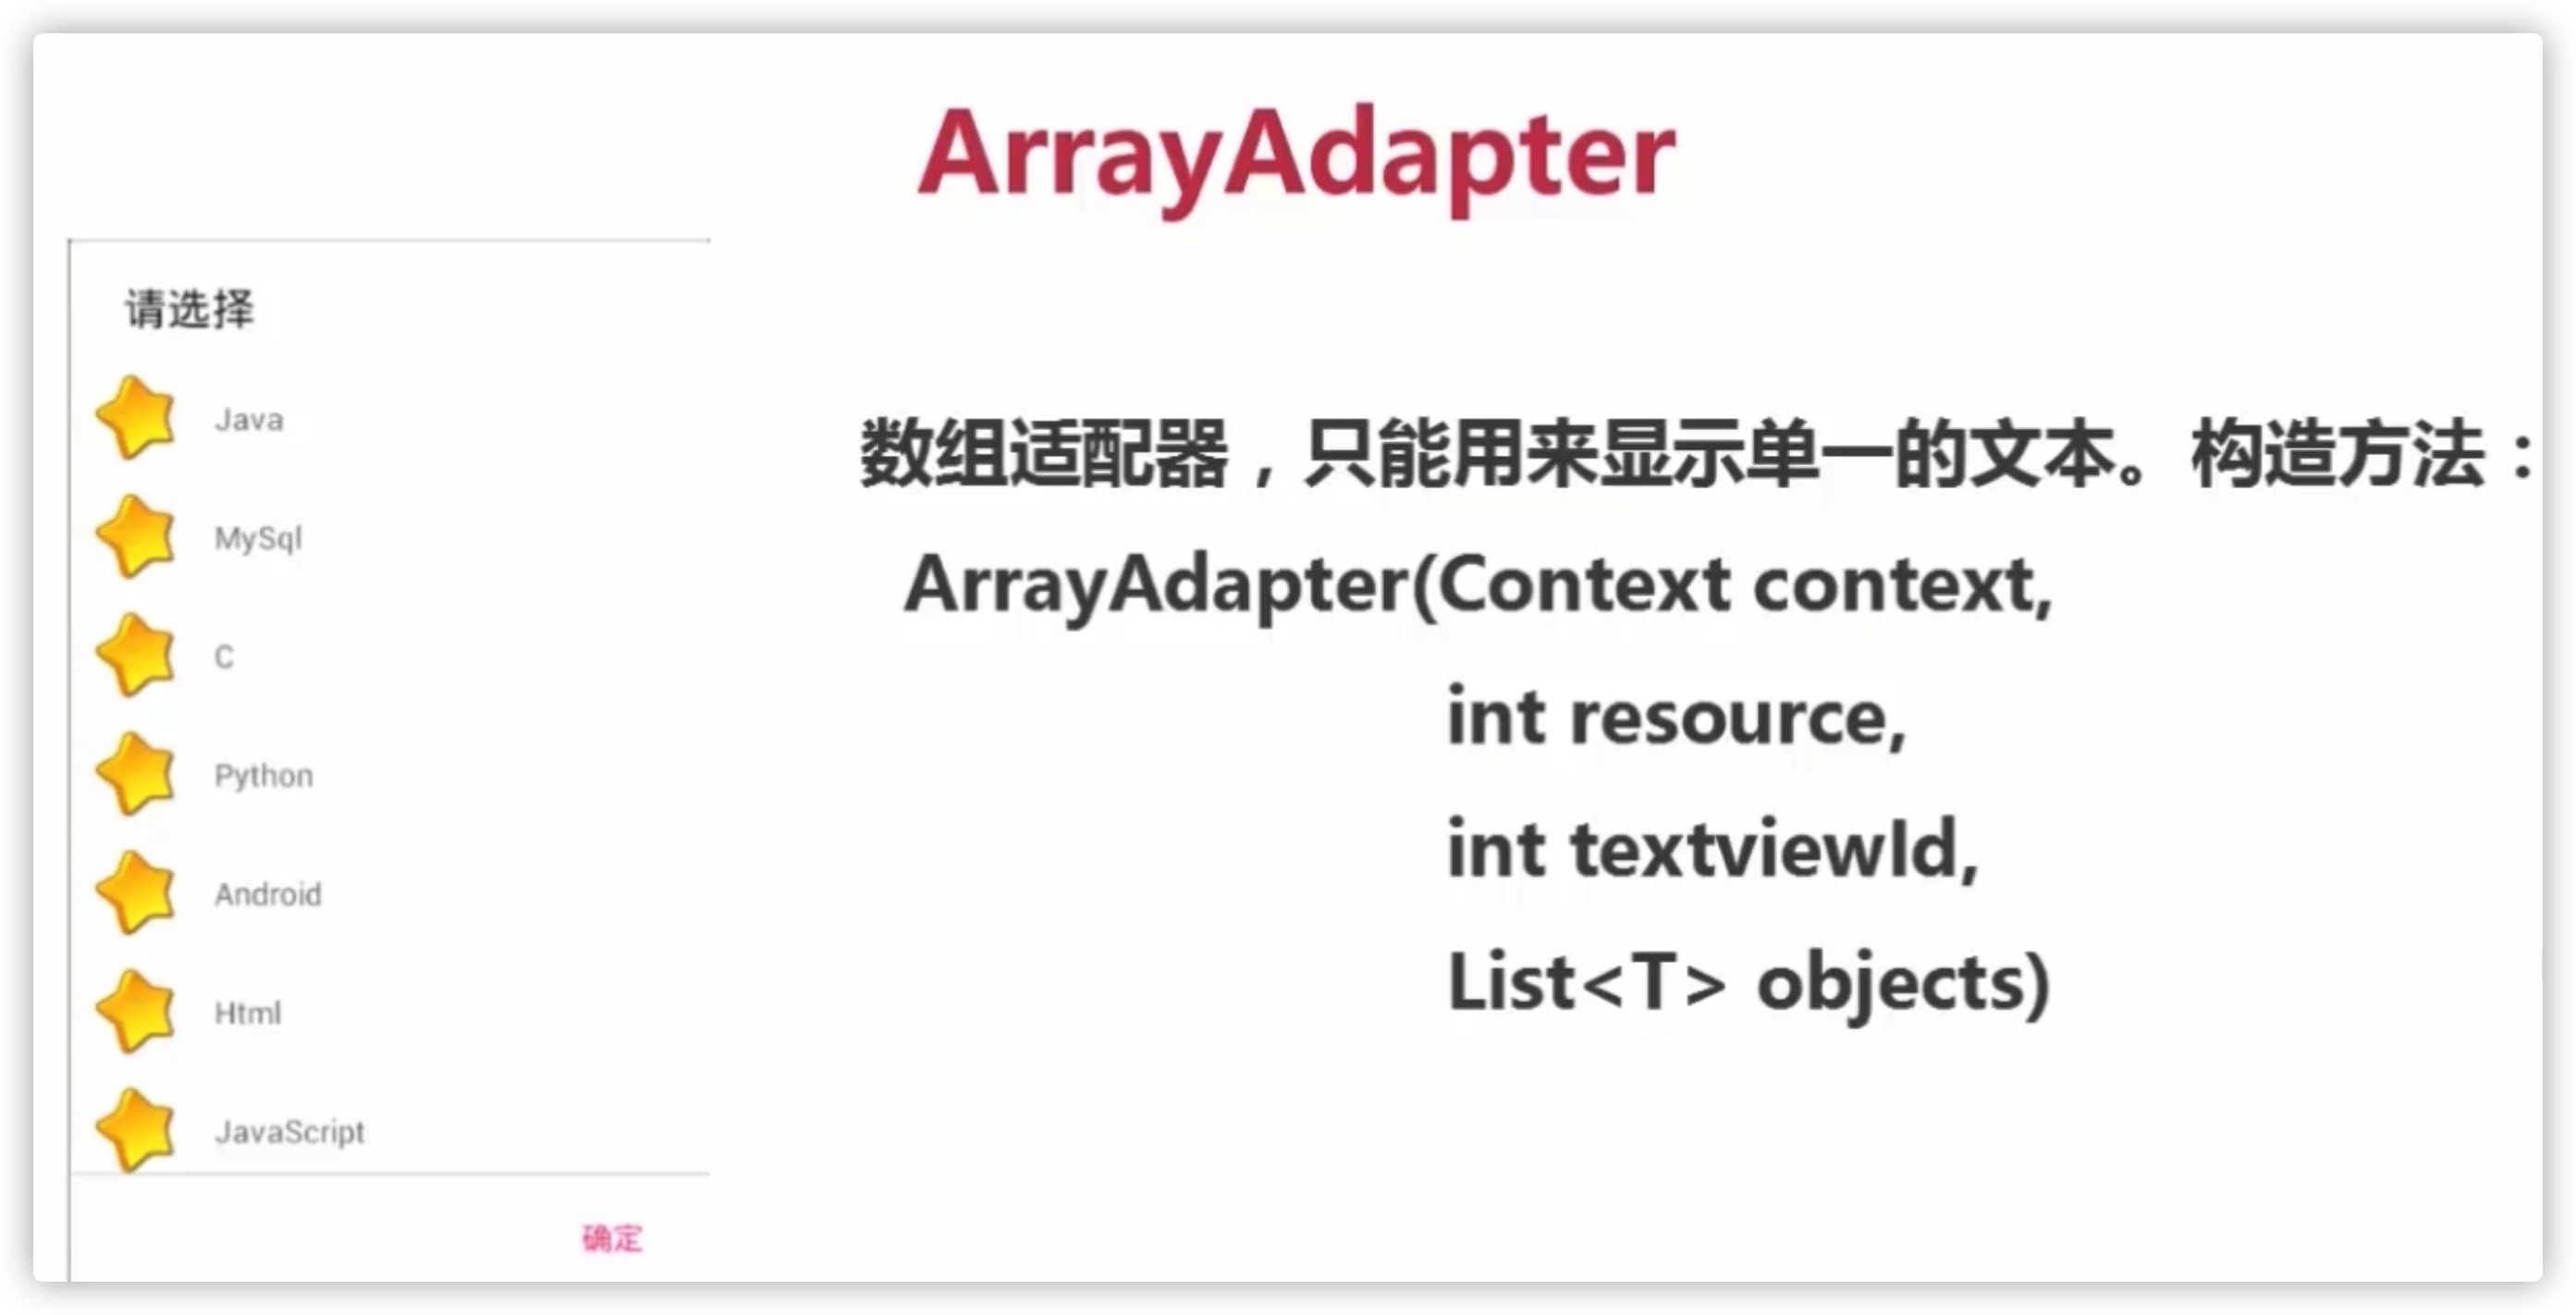
ArrayAdapter 用来转换数组和textview
1
2
3
4
5
6
7
8
9
10
11
12
public void showArrayDialog () "MySQL" ,"Java" ,"C++" ,"Python" };new ArrayAdapter(this ,android.R.layout.simple_dropdown_item_1line);new Builder(this );"监听器" );null );
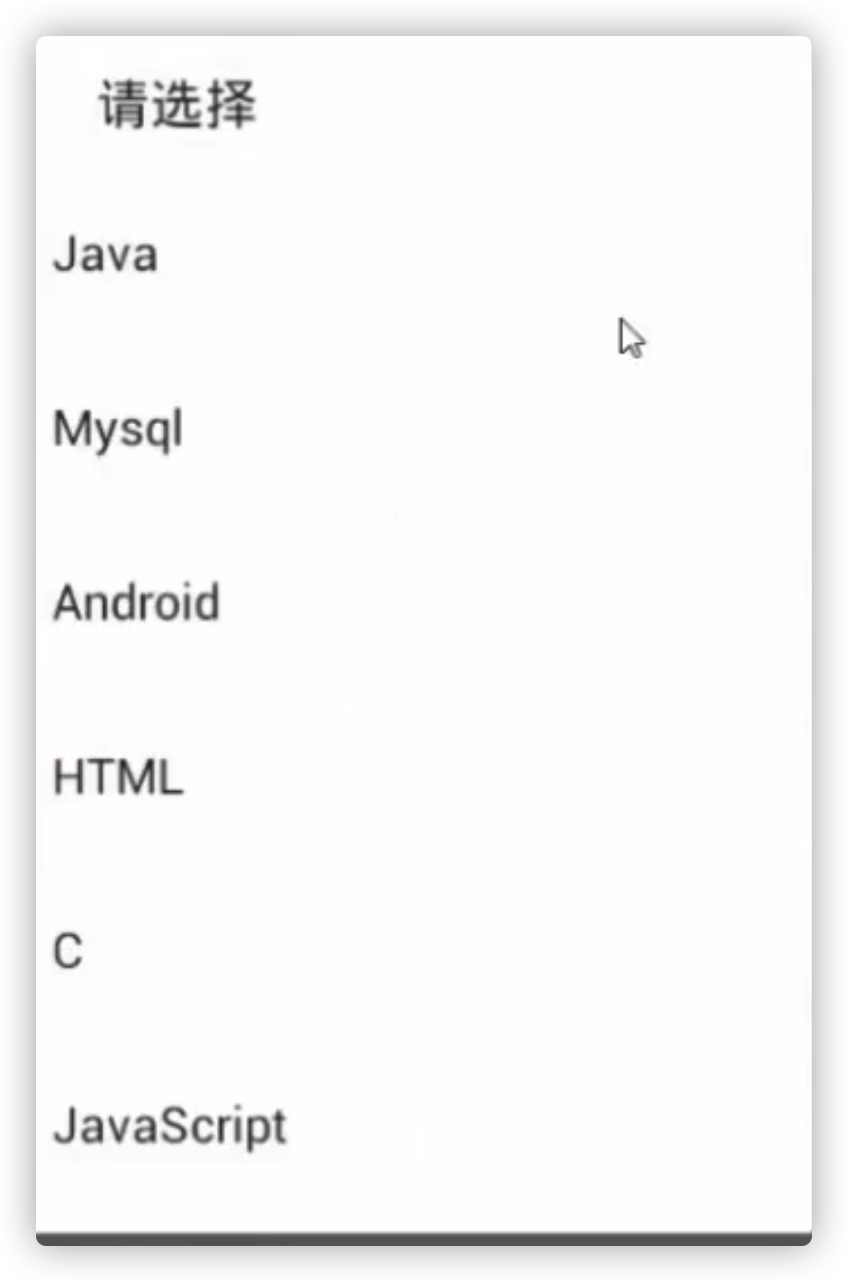
自定义样式,注意如果不指定TextView的id则必须根布局是TextView
设置监听器没啥特别的
1
2
3
4
5
6
7
8
9
10
11
12
13
14
15
16
17
18
public void showArrayDialog () final String[] array = {"MySQL" ,"Java" ,"C++" ,"Python" };new ArrayAdapter(this ,R.layout.dialog,R.id.item_text);new Builder(this );"监听器" );new DialogInterface.OnClickListener() {@Override public void onClick (DialogInterface dialog, int which) this , array[which], Toast.LENGTH_SHORT).show();