基础控件
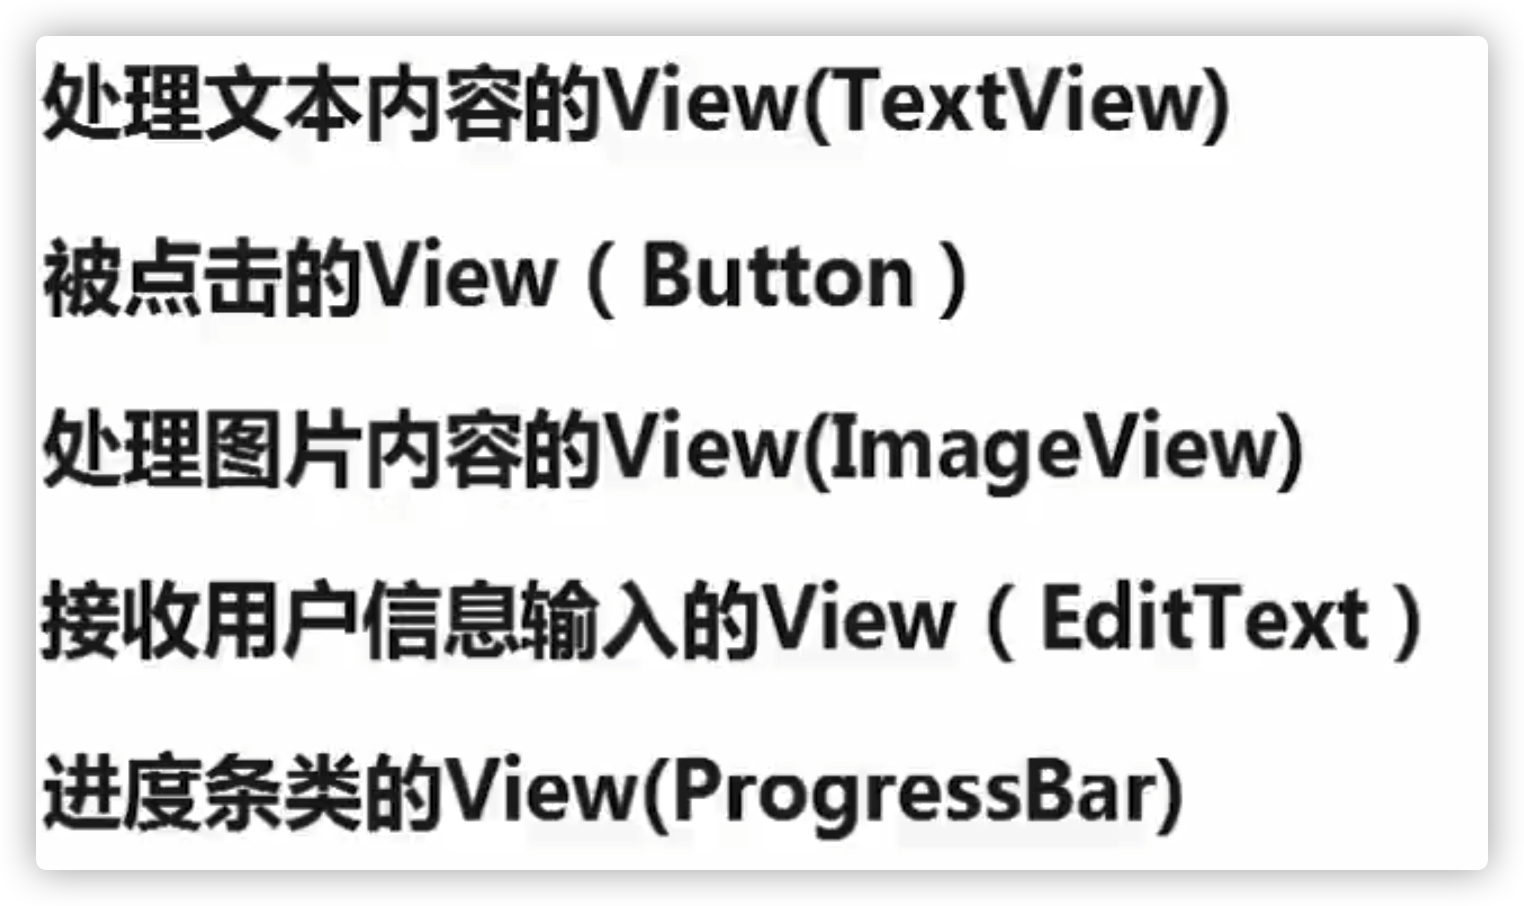
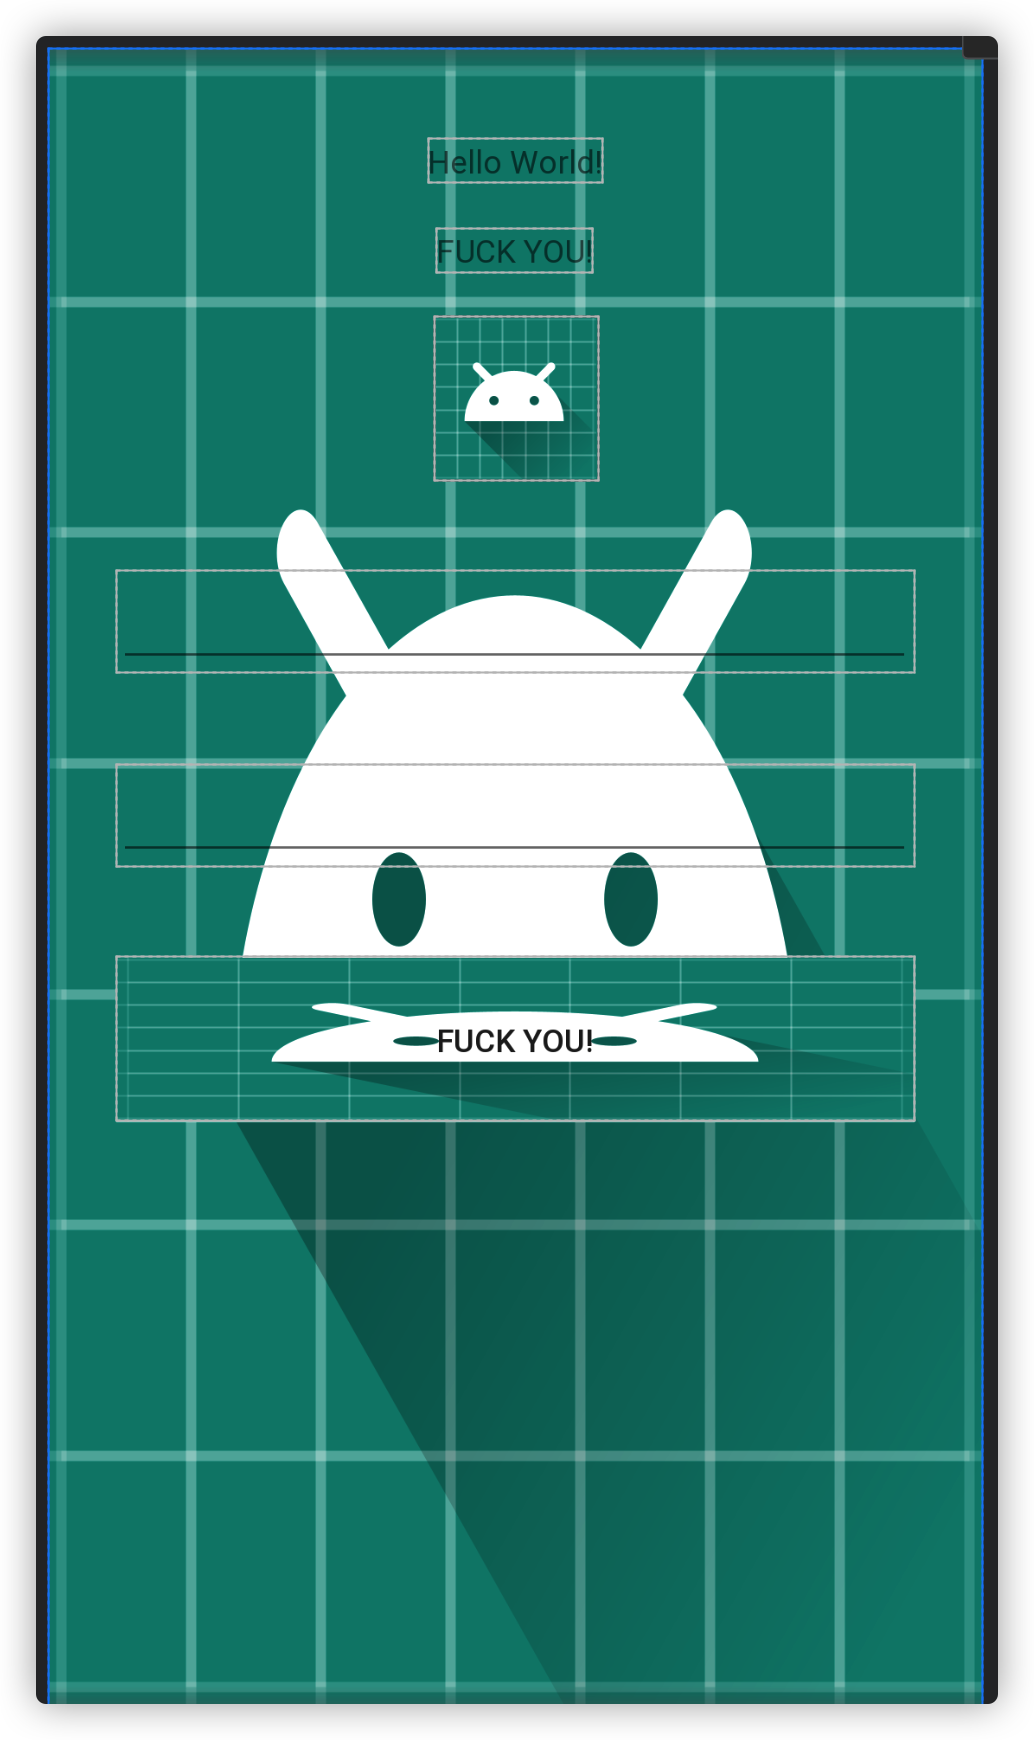
以一个小案例介绍常用的控件(组件)
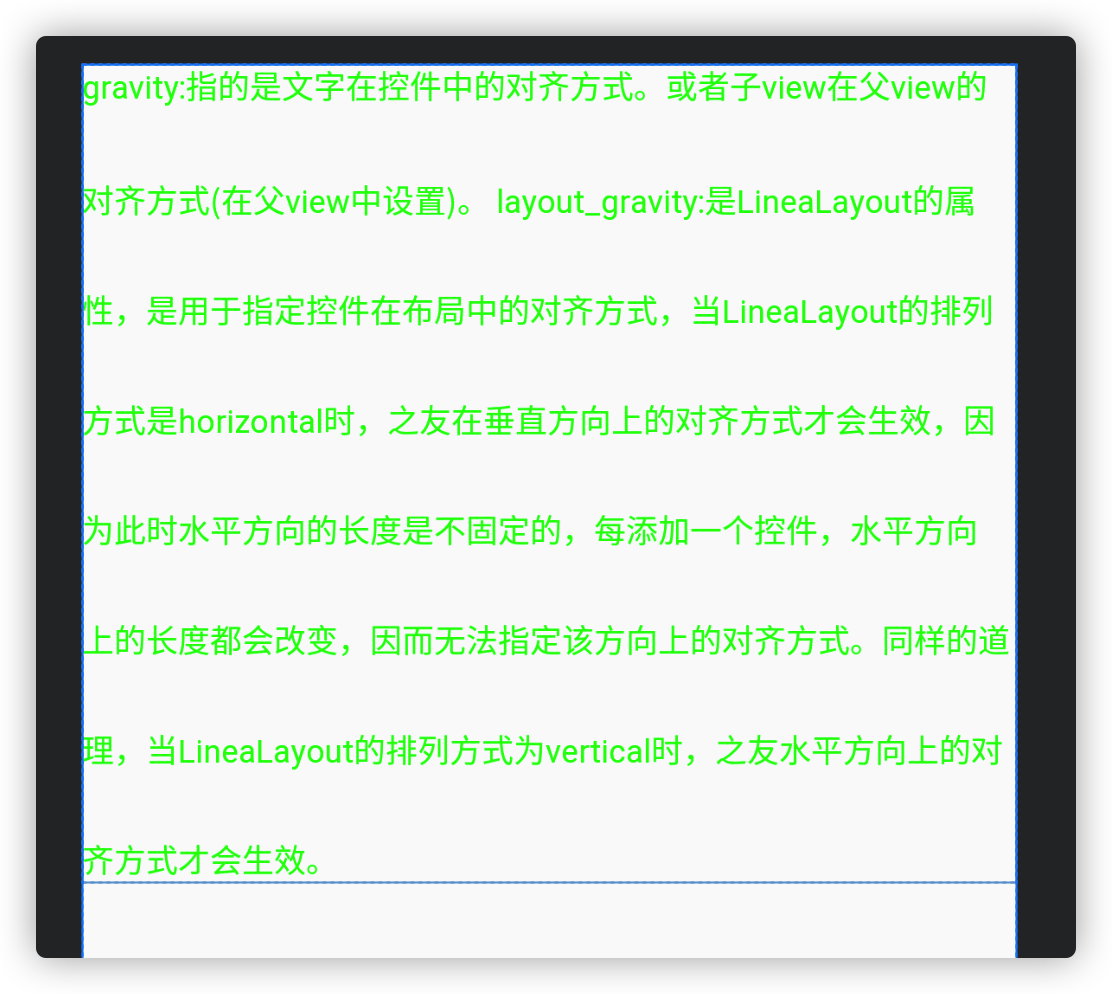
gravity:指的是文字在控件中的对齐方式。或者子view在父view的对齐方式(在父view中设置)。
layout_gravity:是LineaLayout的属性,是用于指定控件在布局中的对齐方式,当LineaLayout的排列方式是horizontal时,只有在垂直方向上的对齐方式才会生效,因为此时水平方向的长度是不固定的,每添加一个控件,水平方向上的长度都会改变,因而无法指定该方向上的对齐方式。同样的道理,当LineaLayout的排列方式为vertical时,之友水平方向上的对齐方式才会生效。
1
2
3
4
5
6
7
8
9
10
11
12
13
14
15
16
17
18
19
20
21
22
23
24
25
26
27
28
29
30
31
32
33
34
35
36
37
38
39
40
41
42
43
44
45
46
47
48
49
50
51
| <?xml version="1.0" encoding="utf-8"?>
<LinearLayout xmlns:android="http://schemas.android.com/apk/res/android"
android:layout_width="match_parent"
android:layout_height="match_parent"
android:background="@mipmap/ic_launcher_round"
android:gravity="center_horizontal"
android:orientation="vertical">
<TextView
android:layout_width="wrap_content"
android:layout_height="wrap_content"
android:layout_marginTop="40dp"
android:text="Hello World!" />
<TextView
android:layout_width="wrap_content"
android:layout_height="wrap_content"
android:layout_margin="20dp"
android:gravity="center_horizontal"
android:text="@string/fuck_you" />
<ImageView
android:layout_width="wrap_content"
android:layout_height="wrap_content"
android:src="@mipmap/ic_launcher" />
<EditText
android:layout_width="match_parent"
android:layout_height="wrap_content"
android:layout_marginLeft="30dp"
android:layout_marginTop="40dp"
android:layout_marginRight="30dp" />
<EditText
android:layout_width="match_parent"
android:layout_height="wrap_content"
android:layout_marginLeft="30dp"
android:layout_marginTop="40dp"
android:layout_marginRight="30dp" />
<Button
android:layout_width="match_parent"
android:layout_height="wrap_content"
android:layout_marginLeft="30dp"
android:layout_marginTop="40dp"
android:layout_marginRight="30dp"
android:background="@mipmap/ic_launcher"
android:text="@string/fuck_you" />
</LinearLayout>
|
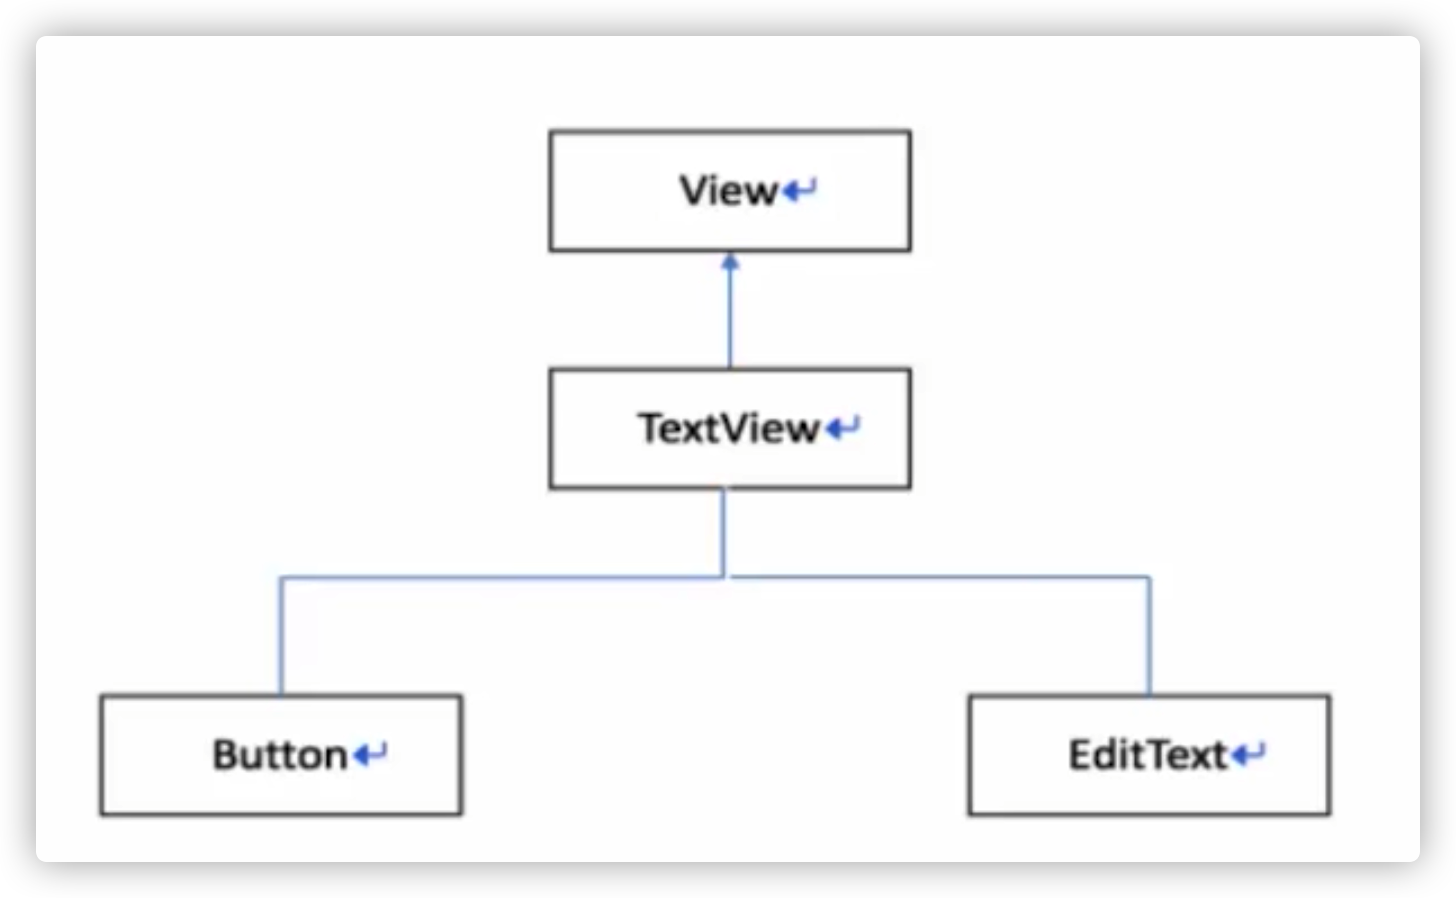
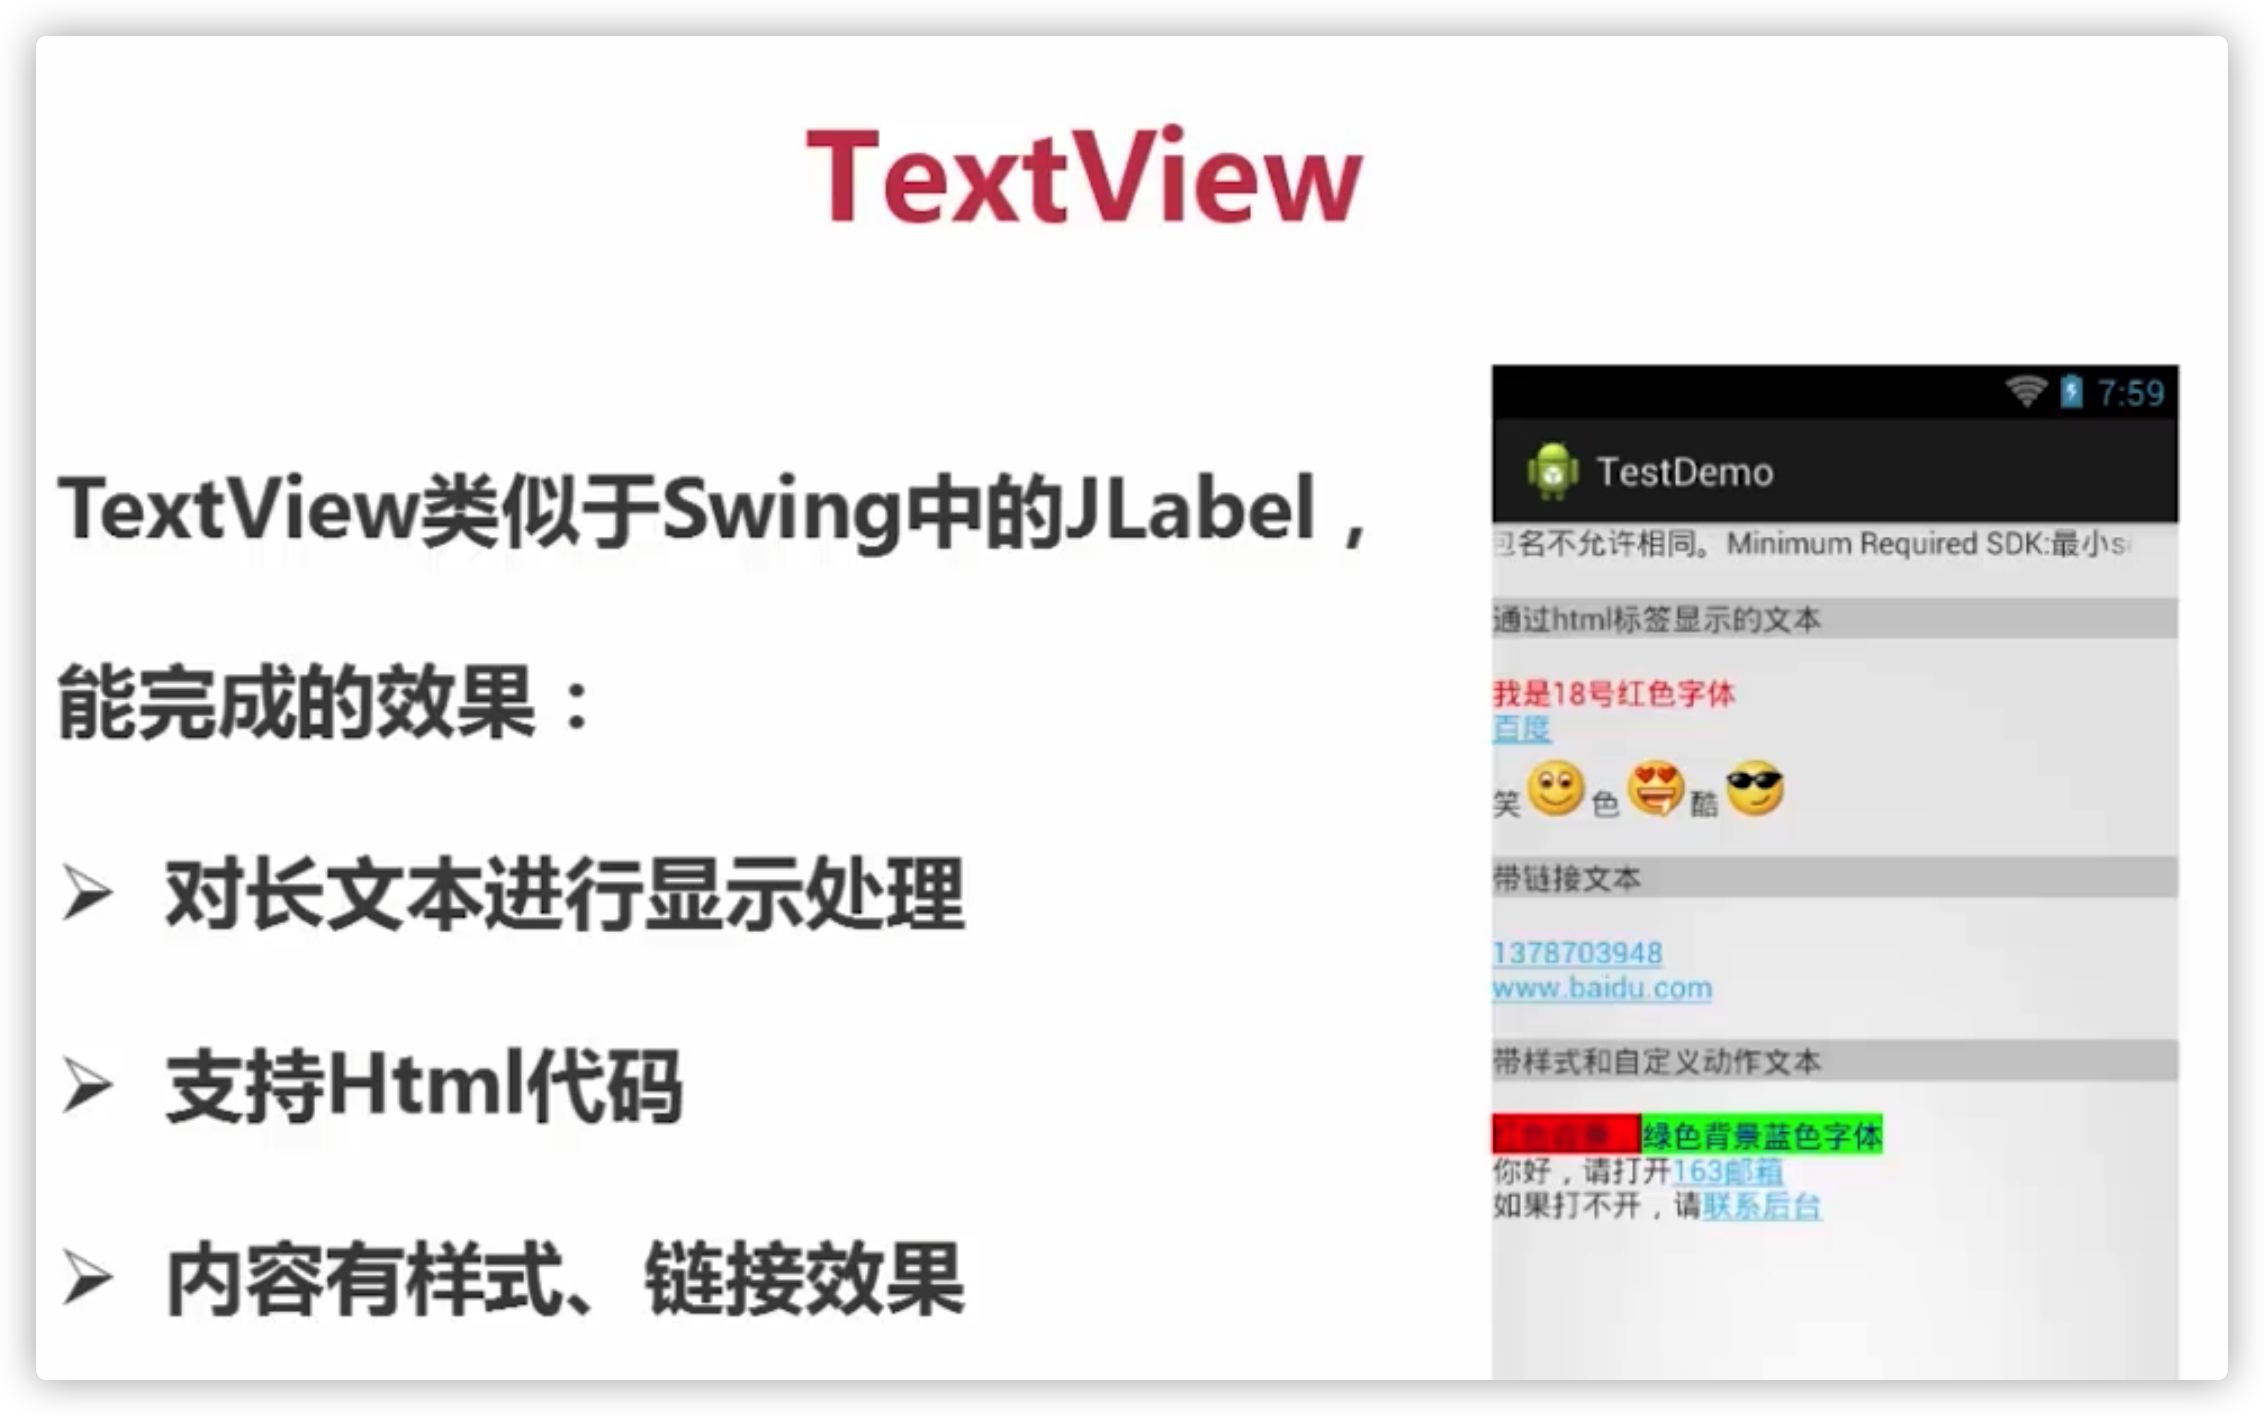
TextView的继承关系
1
2
3
4
5
6
7
8
9
10
11
12
13
14
15
16
17
18
| <?xml version="1.0" encoding="utf-8"?>
<ScrollView xmlns:android="http://schemas.android.com/apk/res/android"
xmlns:app="http://schemas.android.com/apk/res-auto"
xmlns:tools="http://schemas.android.com/tools"
android:layout_width="match_parent"
android:layout_height="match_parent"
android:orientation="vertical"
tools:context=".TextActivity">
<TextView
android:layout_width="match_parent"
android:layout_height="match_parent"
android:text="@string/long_text"
android:lineSpacingMultiplier="2"
android:textColor="#00ff00"
android:lineSpacingExtra="15sp"/>
</ScrollView>
|


EditText
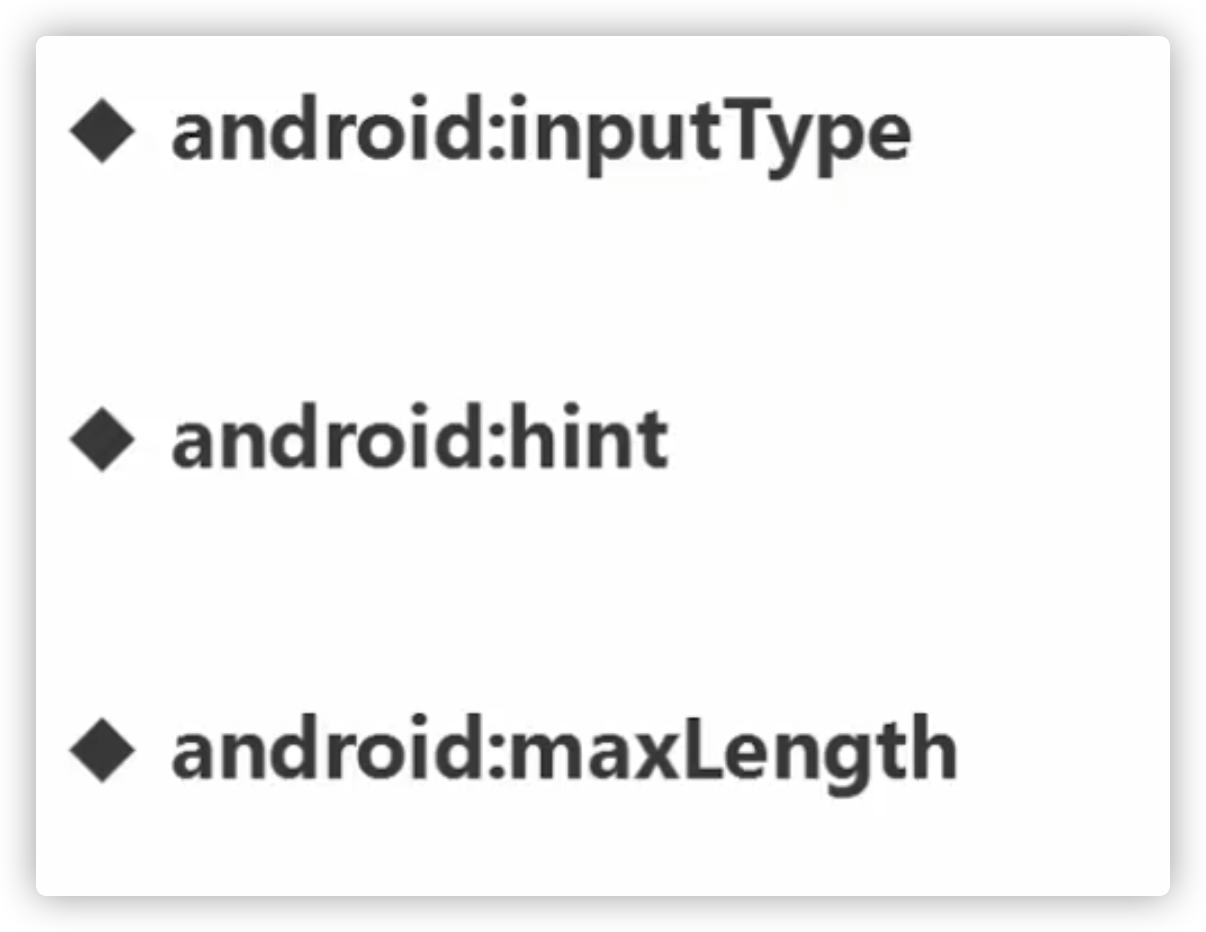
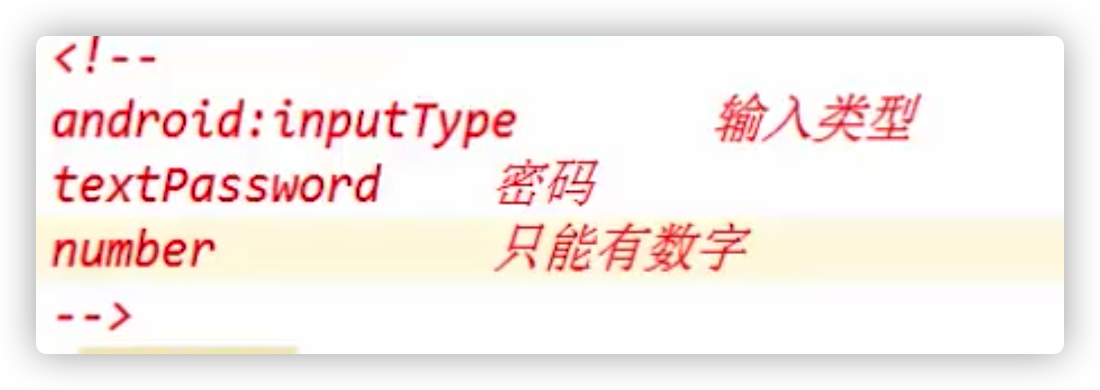
输入类型,输入提示,最大长度
注册点击事件
和Swing一样,注册监听器即可
根据ID找到View
实现自定义类继承自onClickListener
使用匿名内部类
1
2
3
4
5
6
7
| Button btn = findViewById(R.id.button);
btn.setOnClickListener(new View.OnClickListener() {
@Override
public void onClick(View v) {
}
});
|
1
2
3
4
5
6
| public void fuck(View view) {
int id = view.getId();
switch (id){
case R.id.button:break;
}
}
|
注意这里获取组件的方式
ImageView
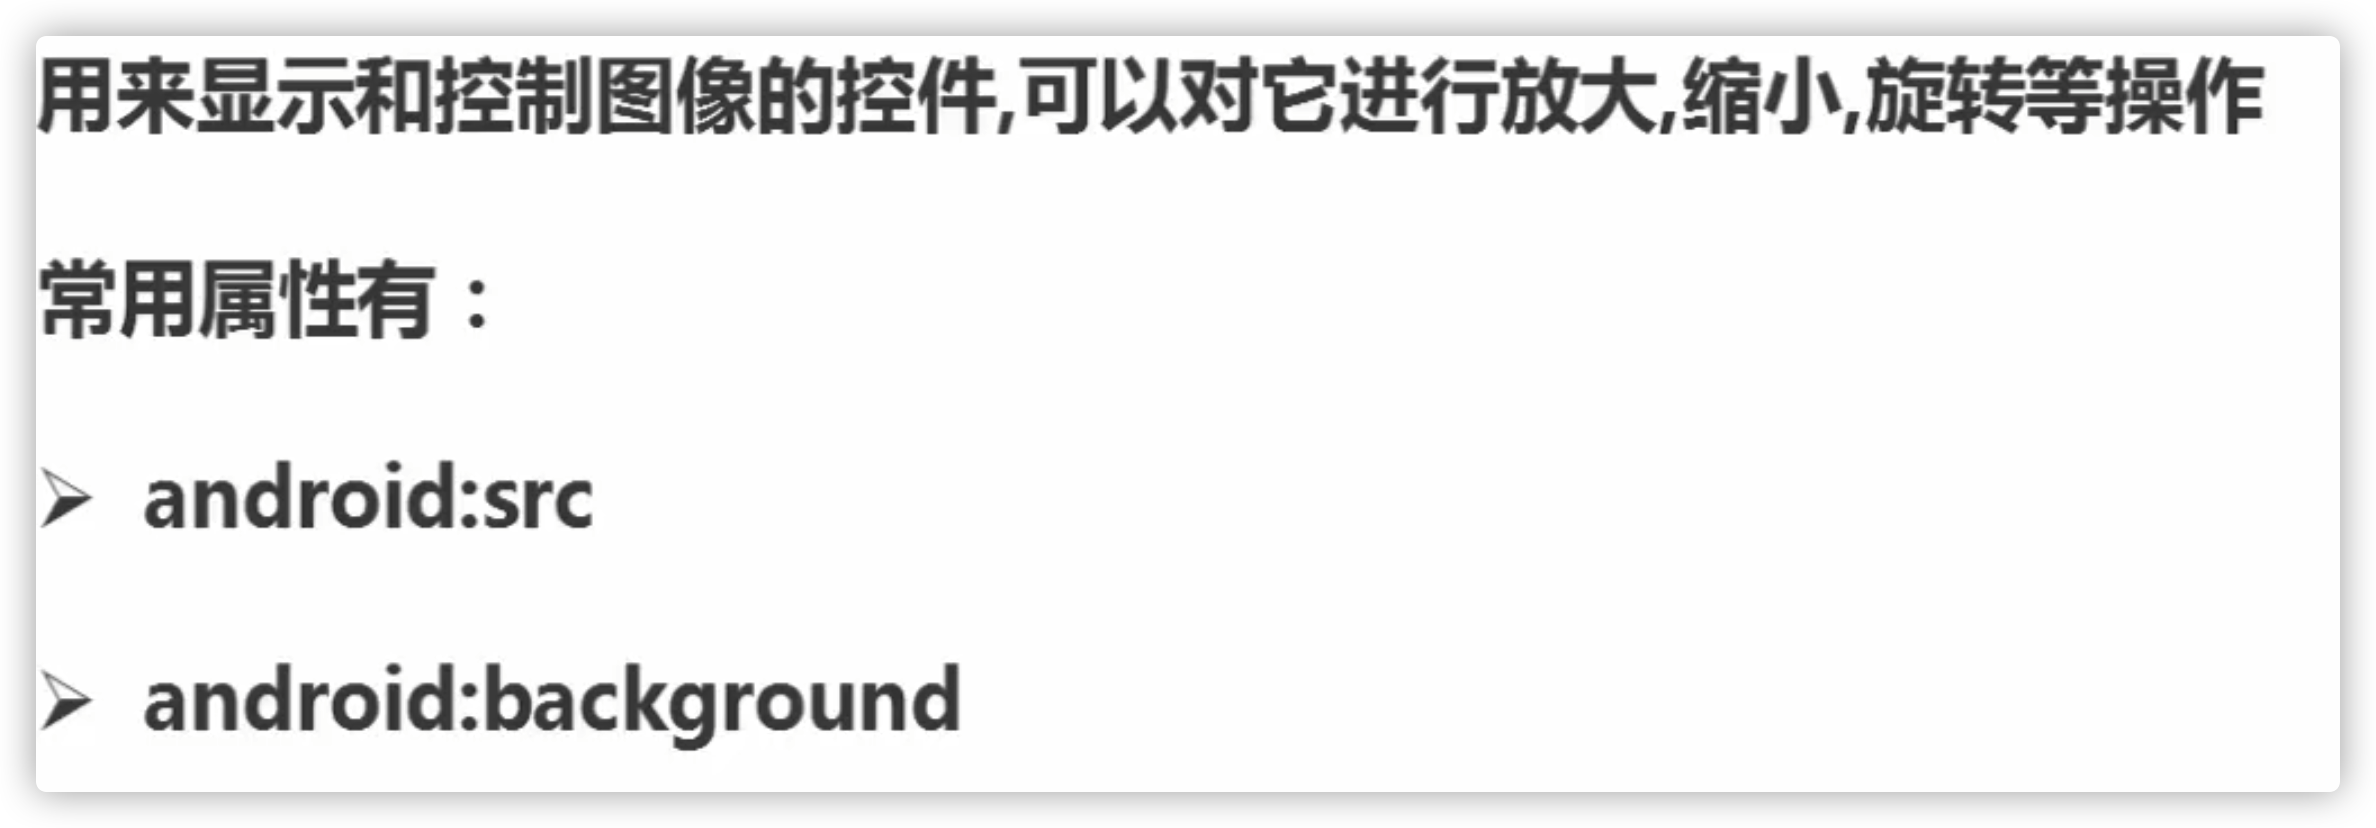
- 添加资源到文件夹需要全小写并且不能以数字开头,图片一般放mipmap
- 在Java文件中找资源要到R类中找索引,而在xml中只需要@文件夹名就好
ProgressBar进度条
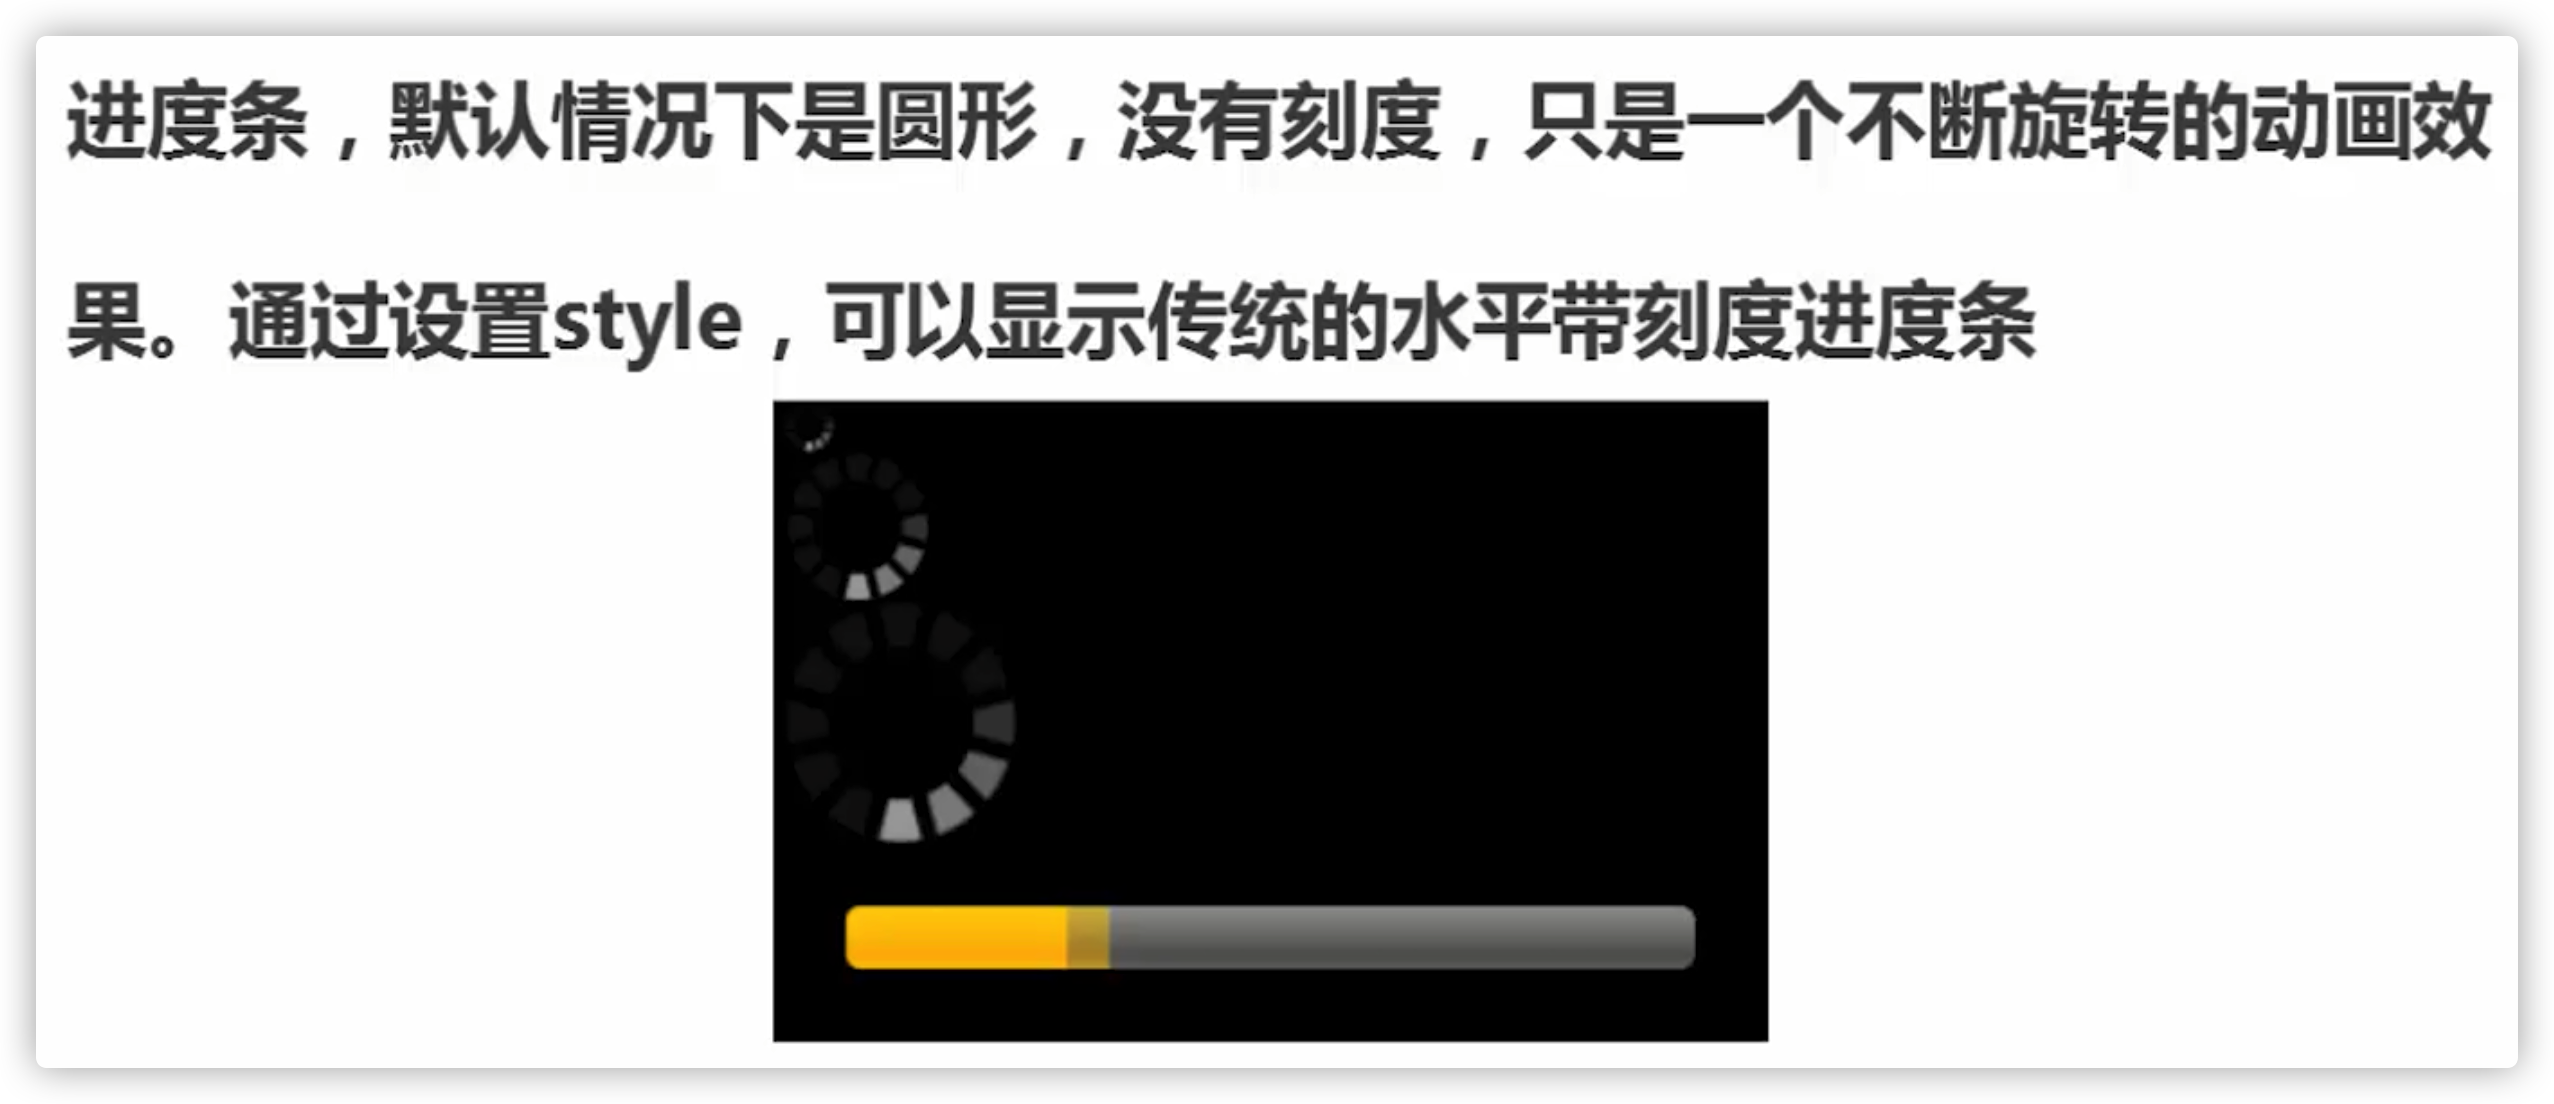
一段设置进度条代码
1
2
3
4
5
6
7
8
9
10
11
12
13
14
15
| final ProgressBar bar1 = findViewById(R.id.pro1);
new Thread(new Runnable() {
@Override
public void run() {
for (int i = 0; i < 100; i++) {
bar1.setProgress(i);
try {
Thread.sleep(100);
} catch (InterruptedException e) {
e.printStackTrace();
}
}
}
}).start();
|
这里演示了常用属性
1
2
3
4
5
6
7
8
9
10
11
12
| <ProgressBar
android:layout_width="wrap_content"
android:layout_height="wrap_content"
style="@style/Widget.AppCompat.ProgressBar.Horizontal"
android:progress="100"
android:max="1000"
android:indeterminate="true"/>
<ProgressBar
android:id="@+id/pro1"
android:layout_width="wrap_content"
android:layout_height="wrap_content"
style="@style/Widget.AppCompat.ProgressBar.Horizontal"/>
|
注意,在安卓4.0之后不能在线程中操作控件,除了进度条
无焦点提示
Toast
1
| Toast.makeText(this,"姓名和密码不能为空",Toast.LENGTH_SHORT).show();
|
CheckBox

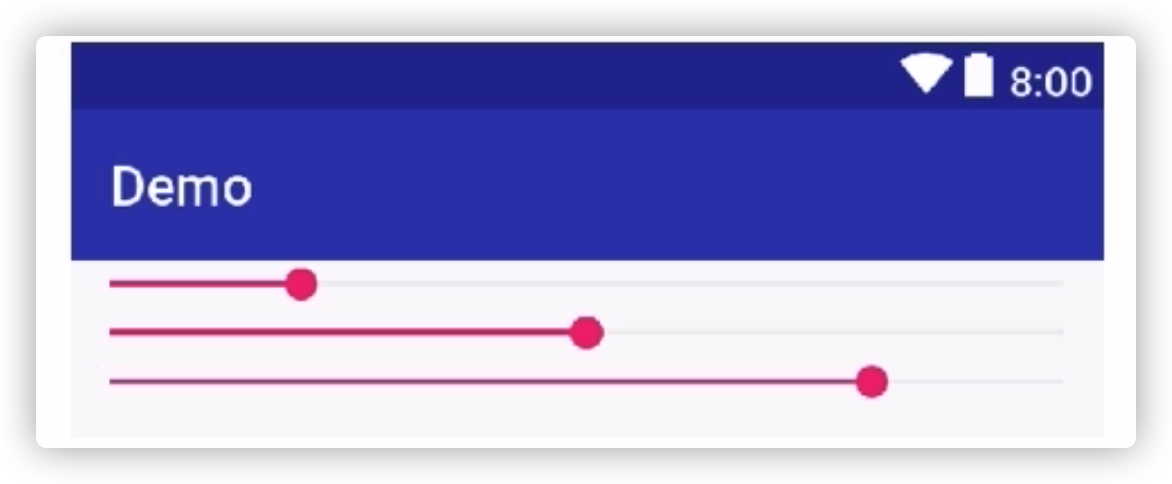
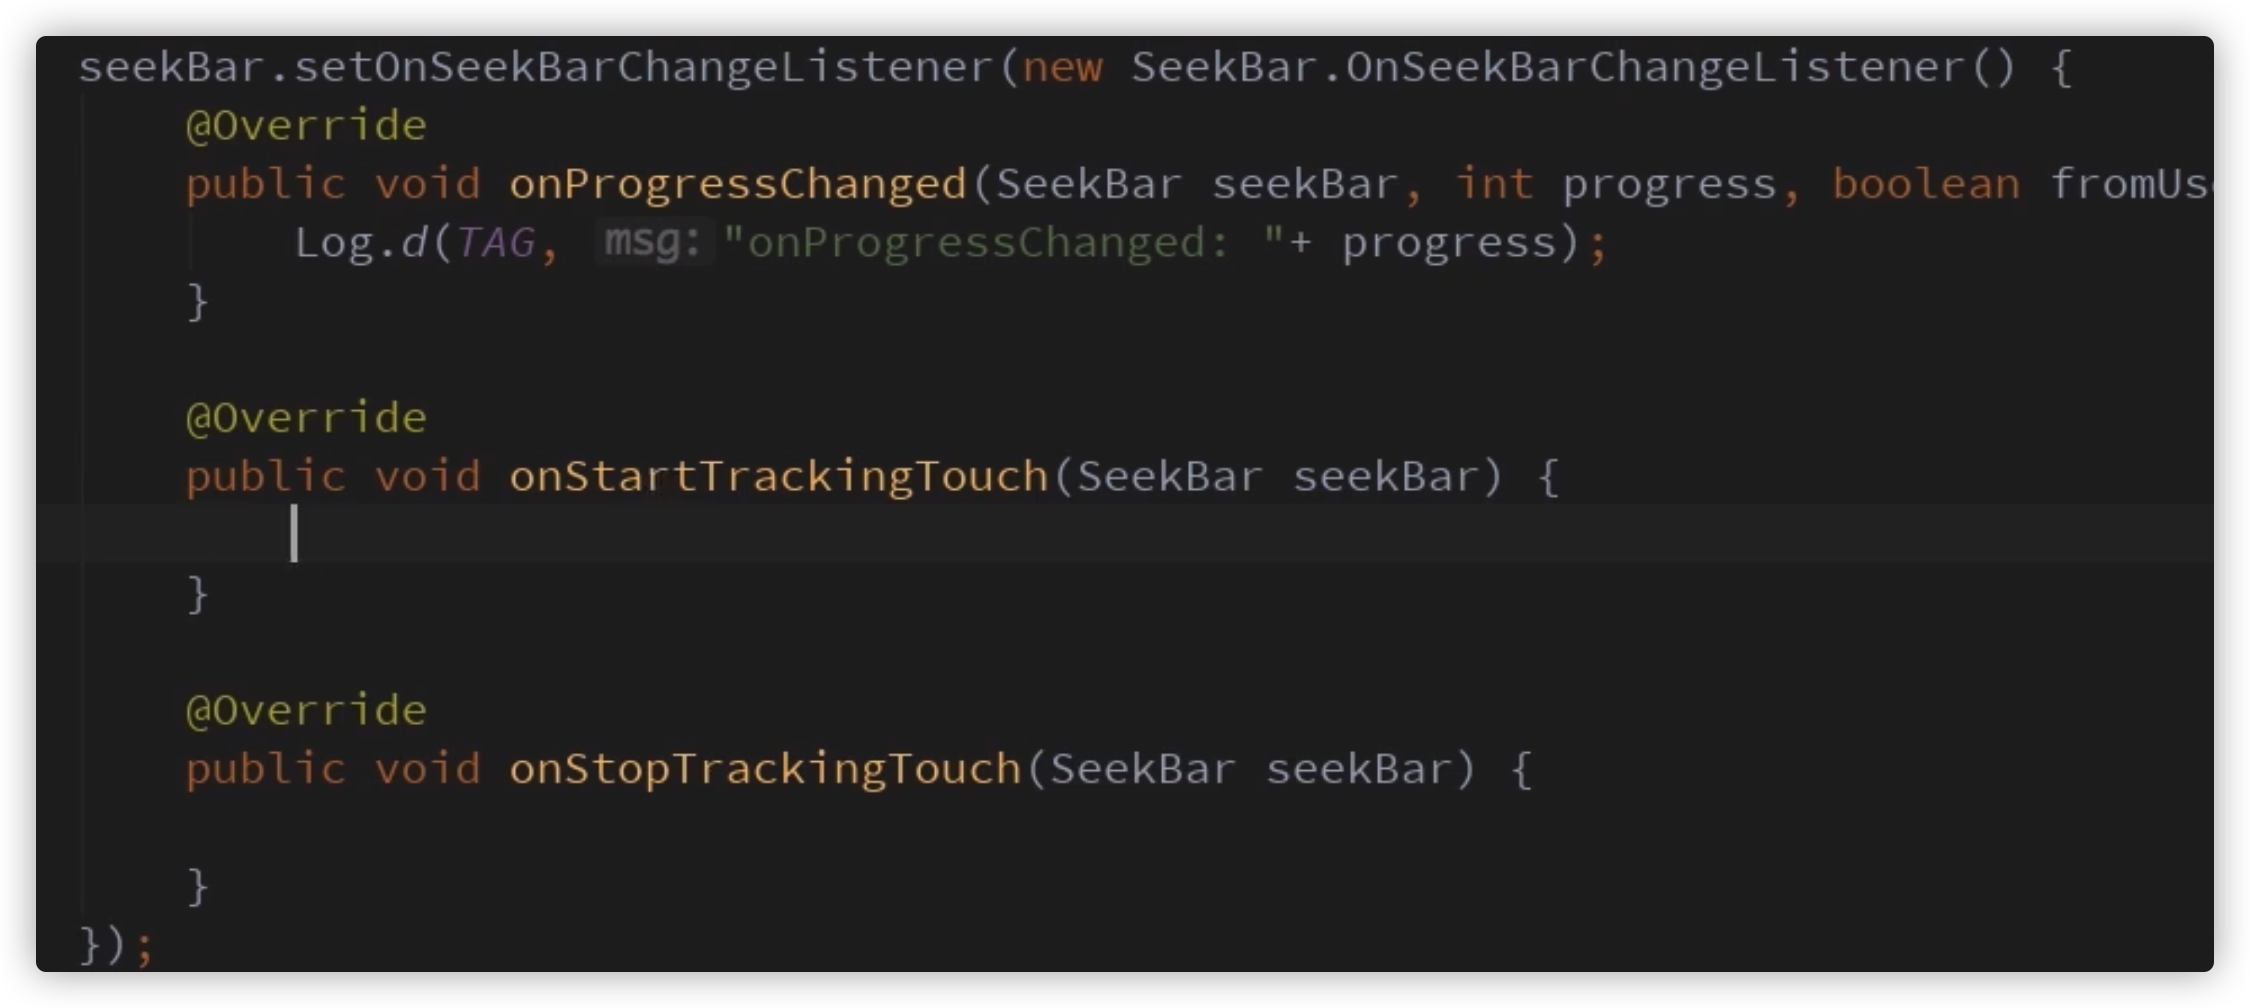
SeekBar
